In this article you will learn how to create a Multimember, i.e. several members’ profiles linked to each other. This option allows your members to easily manage both their own profile and, for example, their child’s profile.
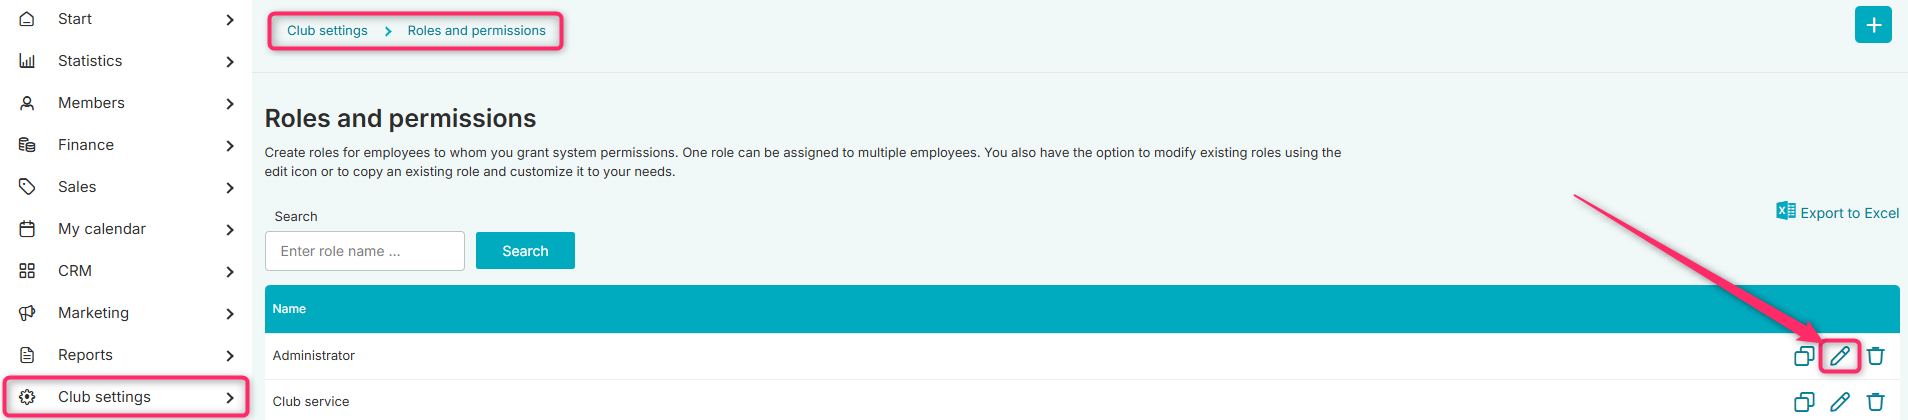
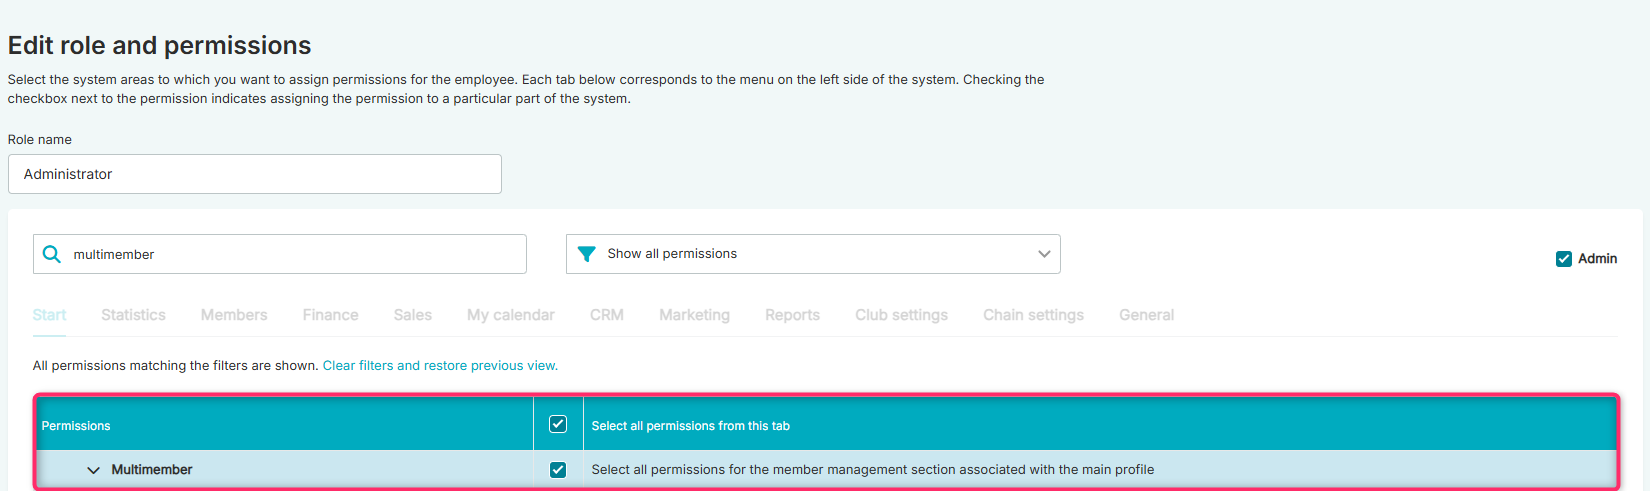
To use the Multimember module in your club, make sure to grant yourself and your staff the appropriate permissions in the Club Settings tab → Roles and permissions → click the pencil icon to edit the selected role:
Creating a Multimember
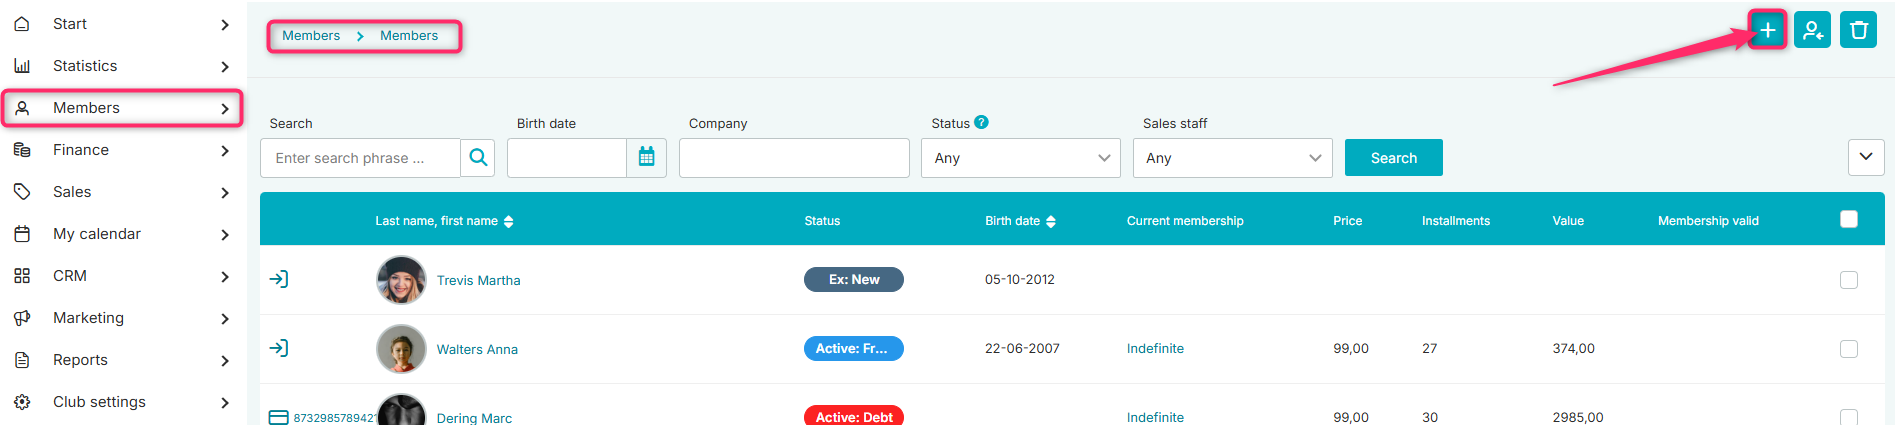
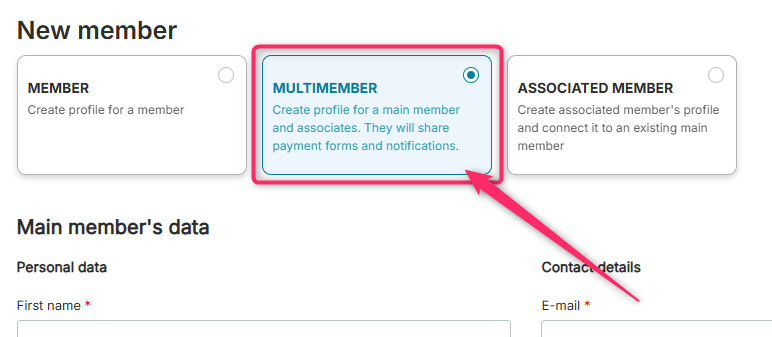
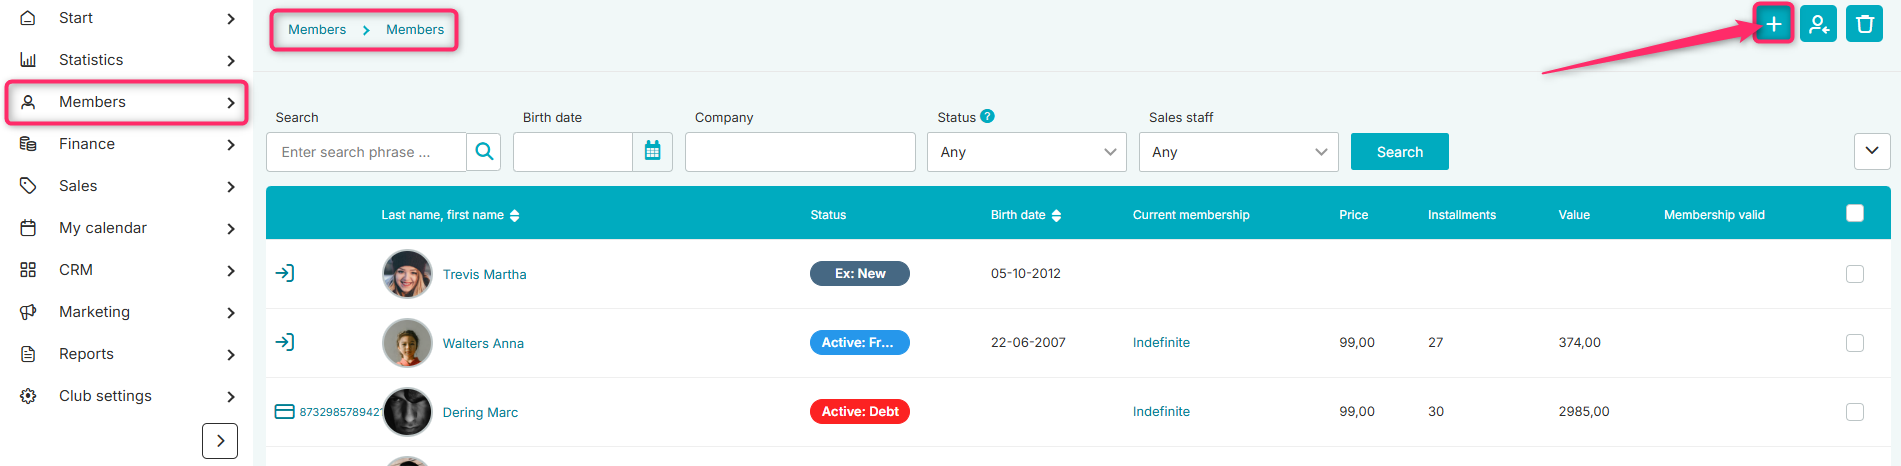
To create a Multimember account — meaning both a main profile and a linked profile (e.g., parent-child) — go to the Members tab → Members, then click the plus icon → Add:
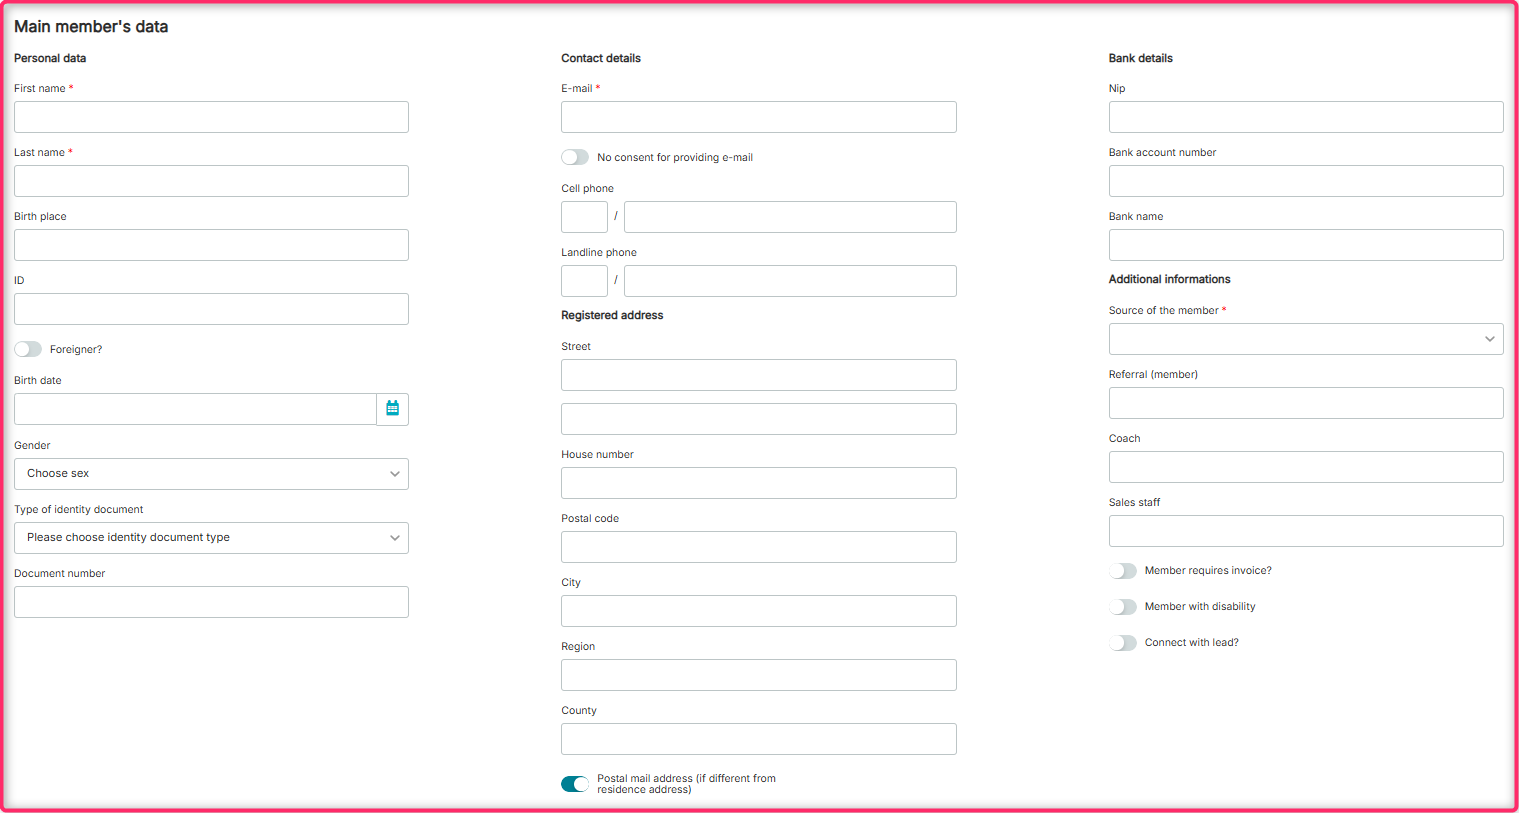

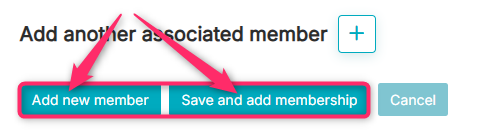
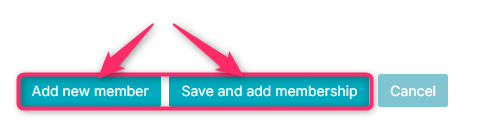
After filling out the form, you can use the option “Add new member” or “Save and add membership”:
Choosing the second option will trigger a pop-up allowing you to select the member’s profile (main profile or associated profile) to whom you want to sell the membership:
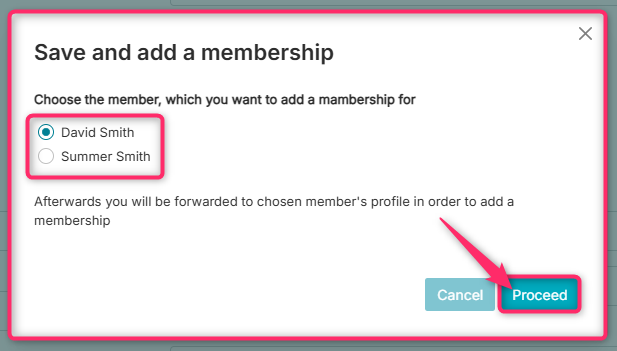
After clicking the “Proceed” button, you will be redirected to the selected member’s profile, specifically to the “Memberships” tab, where you can add the membership.
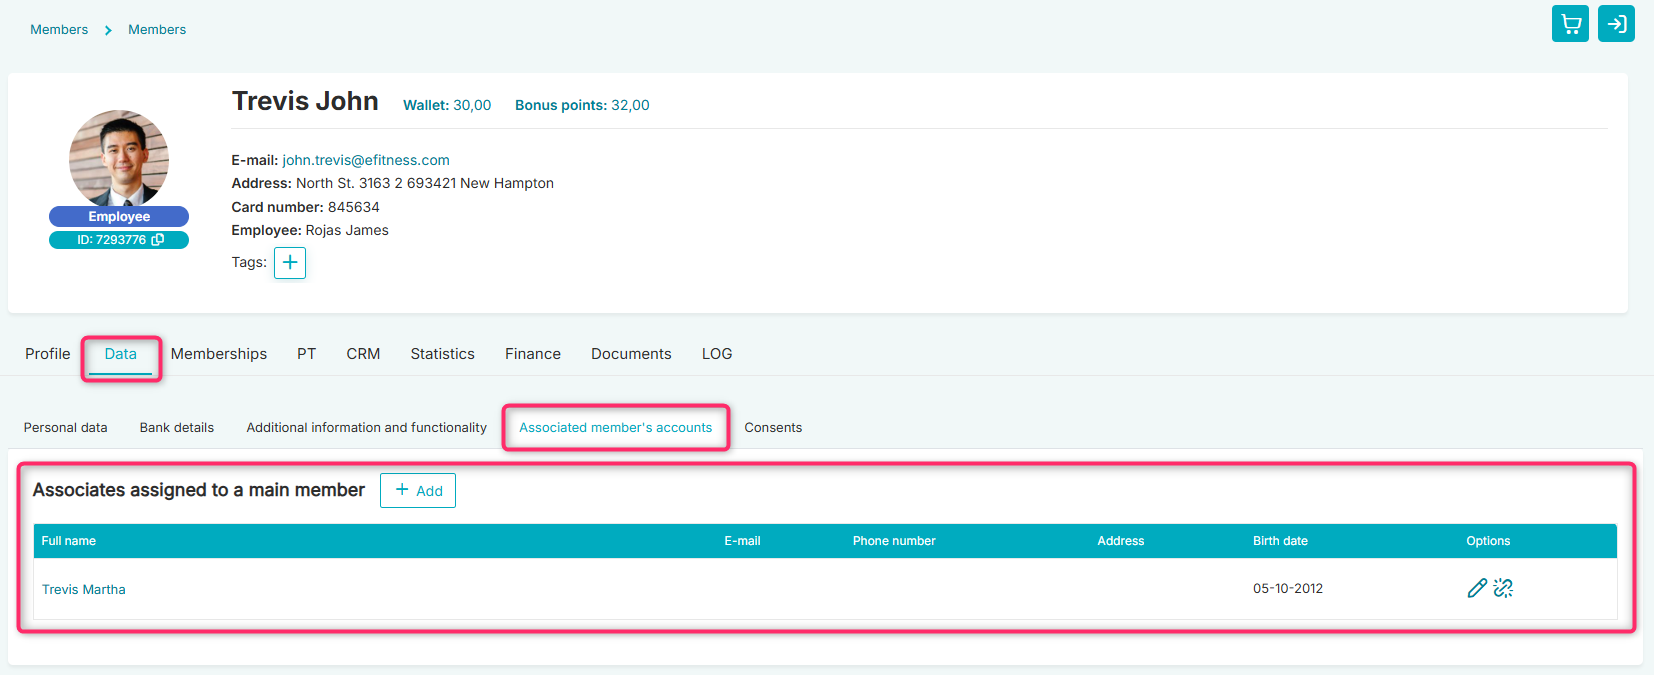
Adding an associated member to an existing main profile
The first option is to add aan associated member from the new member creation form.
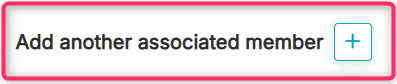
Go to the Members -> Members tab and click the plus icon in the upper right corner → Add:
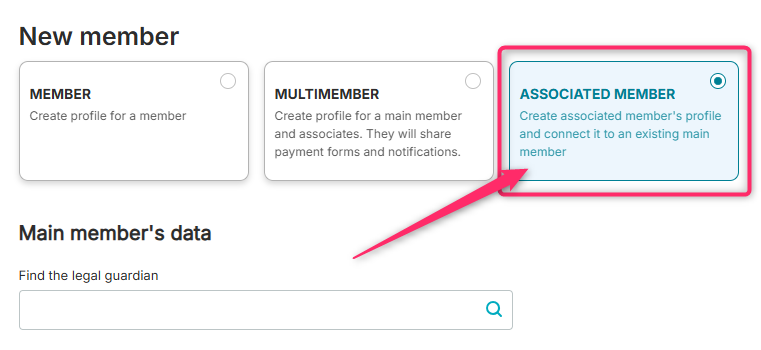
A form for creating a new member account will appear. From the available tiles representing the type of member profile, select “ASSOCIATED MEMBER”:
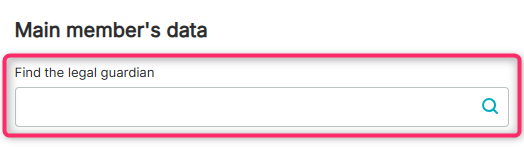
In the “Find the legal guardian” field, find the member you want to link the new profile to:
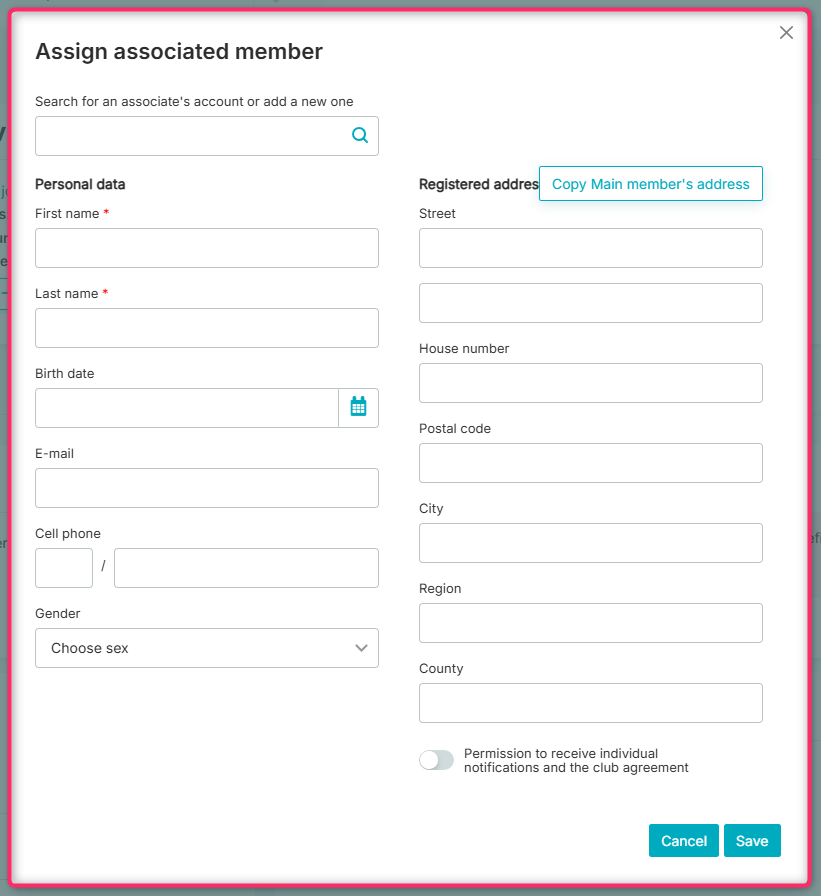
Fill in the form:
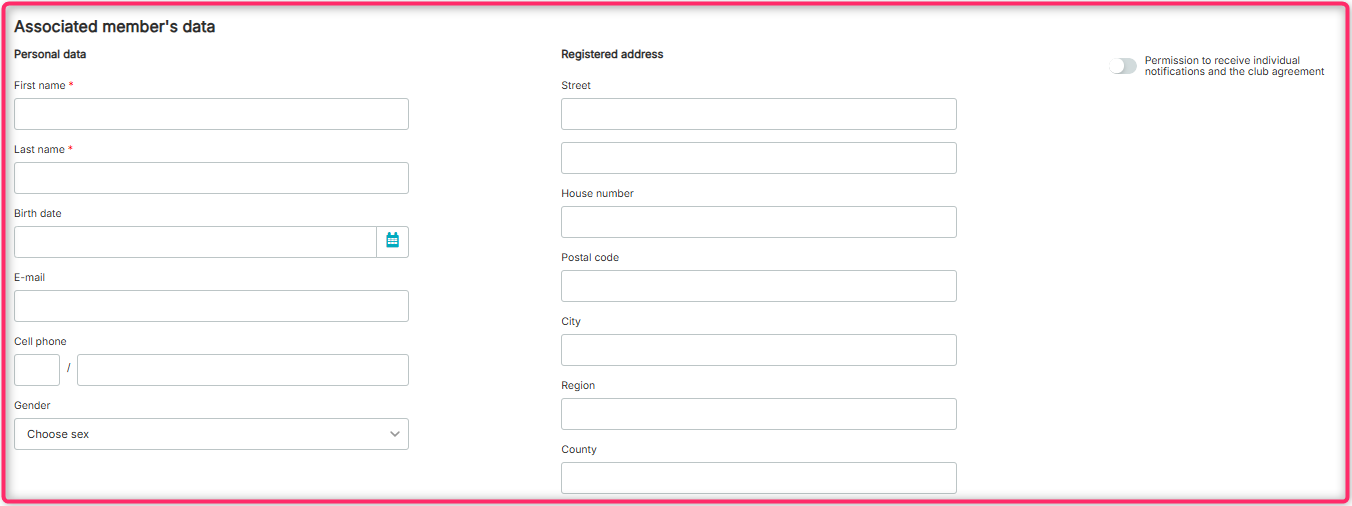
Finally, choose “Add Member” or “Save and add membership”, depending on whether you want to create only the associated member’s profile or proceed directly to selling a membership after its creation:
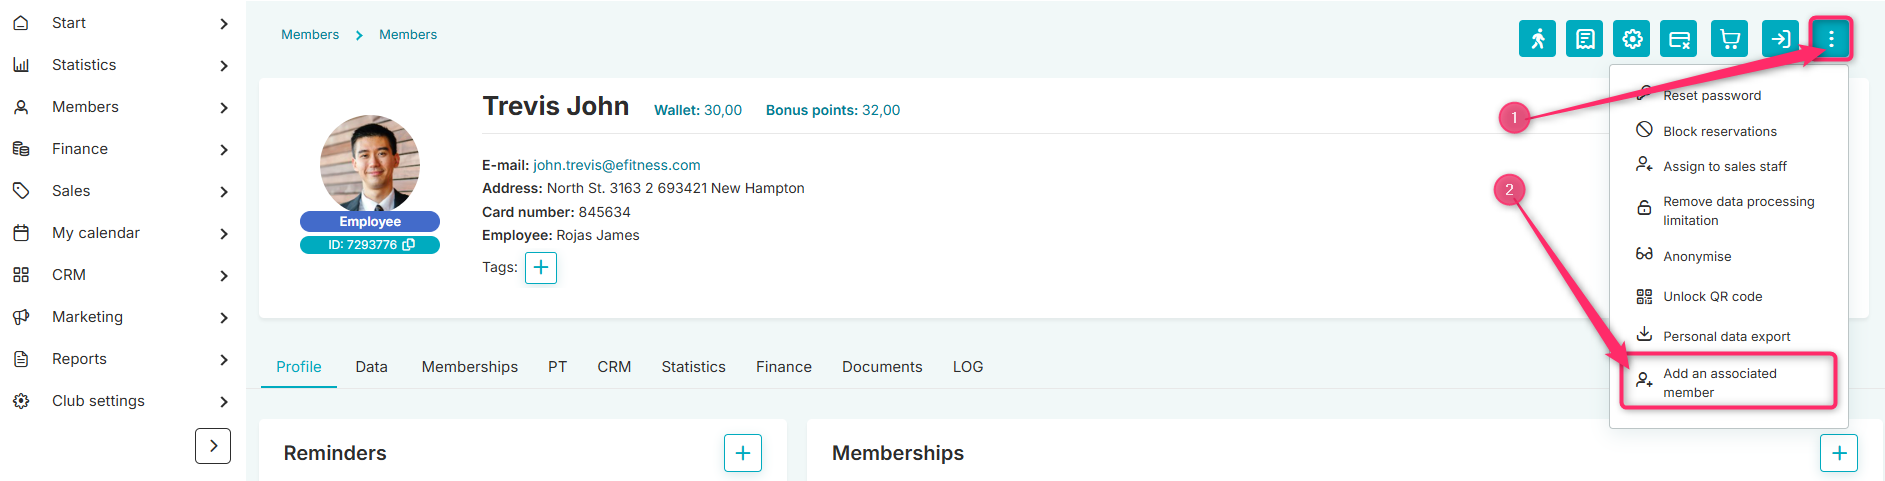
The second option is to add an associated member directly from the main profile. To do this, go to the Members -> Members tab, then open the profile of the selected member. Click the three-dot icon in the upper right corner -> Add Related Member Account:

If the member profile you want to assign to the selected account already exists in the system, after entering the first three letters of the first name or last name, the system will display a list of members. If the related member does not yet have an account in the system, a new account will be created with the status No status after completing the form.