This article will help you understand how to define a company, for which an invoice can be issued, as well as use the newly created company as a supplier for future deliveries.
1. Move through Sales -> Companies tab.
2. Click on the plus icon in the upper right corner:

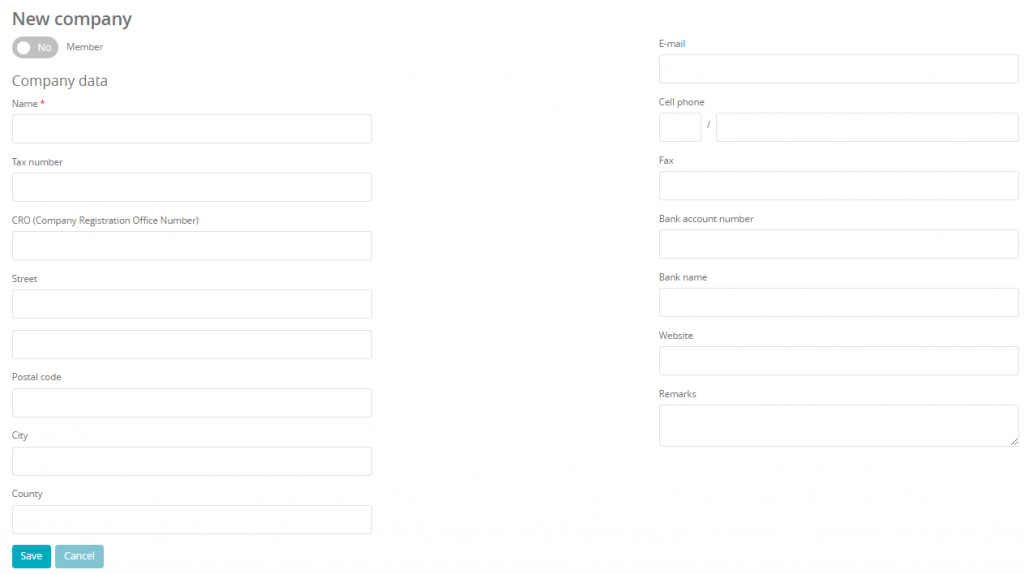
3. Fill in the form:

Available fields:
- Member slider – defined as YES will change the form in such a way that you will be entering a natural person’s data. This is useful when you want to issue an invoice for a natural person that is not a Member
- Name – enter the company’s name. This field is a required one
- Tax Number – enter the tax number of the company.
The rest of the fields – these are not required:
- CRO
- Street name
- Postal code
- City
- County
- E-mail address
- Cell phone number
- Fax number
- Bank account number
- Bank name
- Website
- Remarks
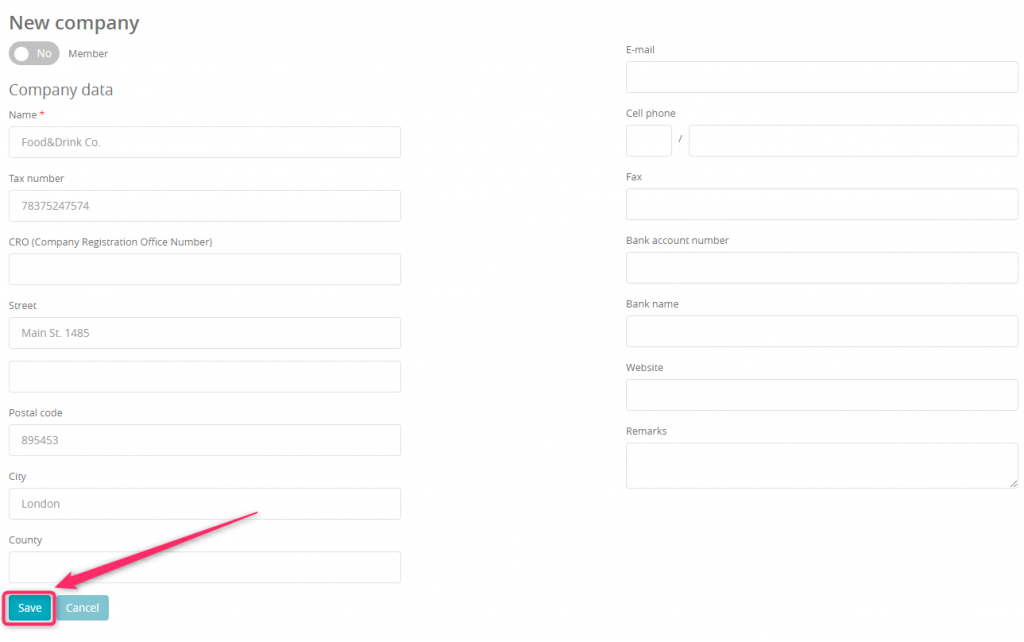
4. The data entered needs to be saved:

5. The company and/or supplier will then be visible on the list:

You can filter your suppliers/companies, using the following fields:

- Search – name of the company search bar
- Data for invoice – this filter checks whether or not the company has been added as data for invoice in the Member Area
- Member – filters the list by whether or not the data was entered as a natural person.
6. Entered companies can be edited ![]() or deleted
or deleted ![]() .
.
If you wish to learn more about adding deliveries, we highly recommend the following tutorial.
Also, check out the How do invoices work tutorial.
The company can also be assigned to a member through the usage of a Member’s profile.
