From this article, you will learn how does the dunning (vindication) process works and how to properly configure it. Thanks to this module you will be able to organize your debtors’ files and take dunning activities, e.g. you will be able to check, how many members have overdue installments or fees, what is the amount of debts or on which dunning step your member is.
Turning the Dunning module on and the configuration process
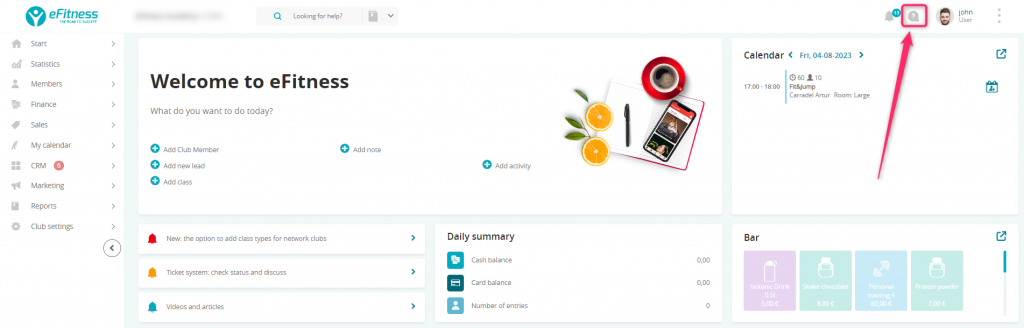
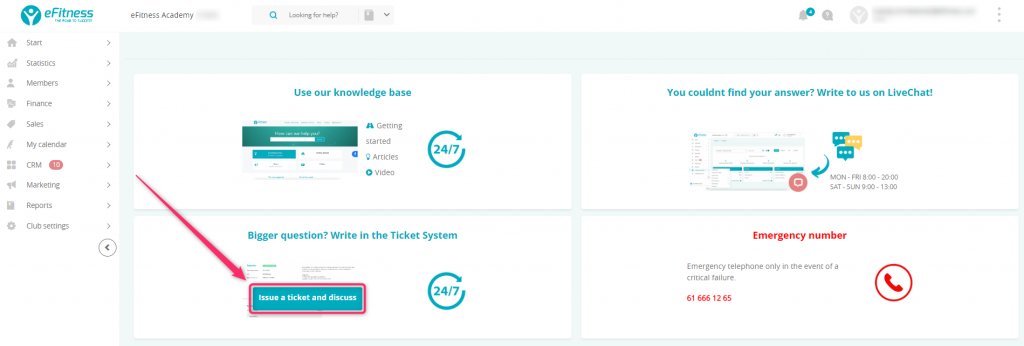
In order to enable the Dunning tab in your system, please write a new ticket to our Support department, using the question mark icon on the upper system bar:
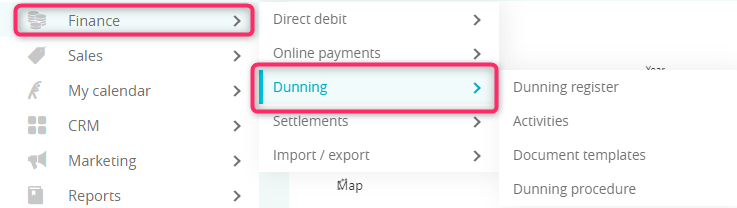
After the module being turned on, you will be able to find a new Dunning tab, located in the Finance tab. Dunning consists of four other tabs, which are Dunning register, Activities, Document templates and Dunning procedure:
Dunning procedure configuration
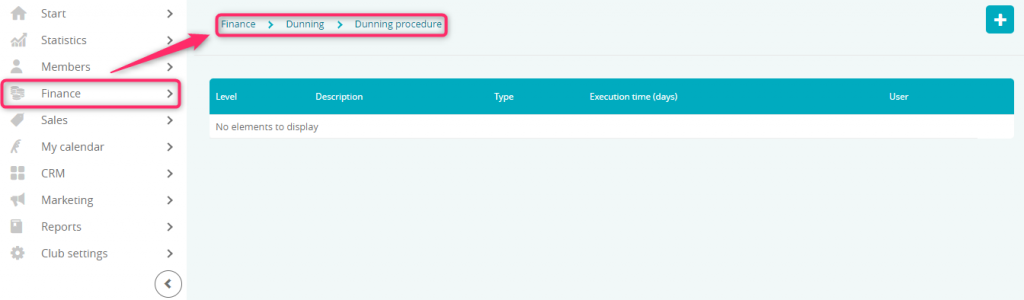
1. Move through Finance -> Dunning -> Dunning procedure, in order to create steps, which will be taken in the dunning process:
2. Click on the “plus” icon in the upper right corner:

3. Fill in the fields:
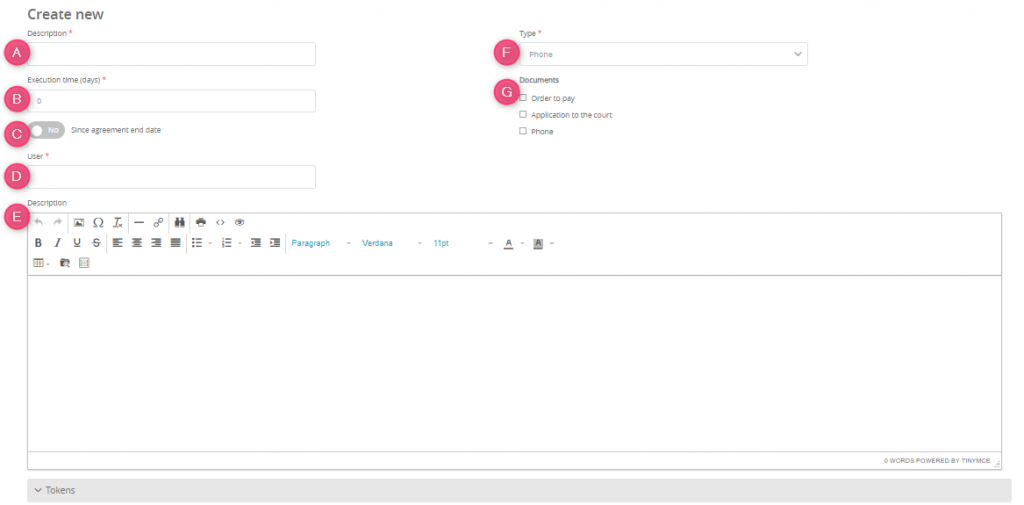
A) Description – name of the step in the dunning process
B) Execution time (days) – number of days, after which the task should be executed
C) “Since agreement end date” slider – if the slider will be set as “Yes”, dunning process will count days from the agreement end date. Normally days are counted from the term of payment
D) User – you can set, which employee will be responsible for taking this activity and for monitoring its status
E) Description – it is the description of dunning step, but also it is the message which will be sent to your member (as an e-mail or text)
F) Type – choose one of the types available:
– Phone
– Text
– E-Mail
– Letter
– Order to pay
– Application to the court
G) Documents – attachments to the dunning task, e.g. the template of order to pay, previously created in the Document templates tab.
An example of dunning process configuration
If you would like to enable the dunning process in your club, please write a new ticket to our Support department. We can configure your process, according to the example, or you can set in on your own. Here is the example of dunning process:
- E-mail – 1 day after the term of payment
- Text – 7 days after the term of payment
- Order to pay – 30 days after the term of payment
- Phone – 40 days after the term of payment
- Application to the court – 60 days after the term of payment
Important! If your automated notifications regarding the payments (Club settings -> Automation -> Member development -> Payment reminders) are turned on, your members will be receiving doubled e-mail or text messages – from the Dunning process and from the Automation.
Creating new Document template
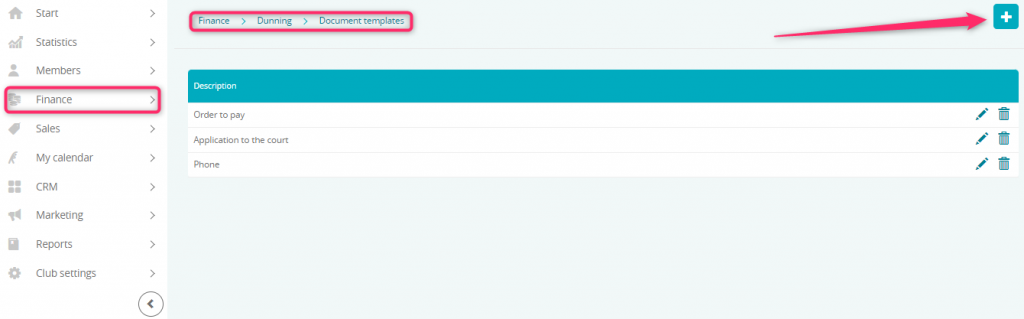
1. In order to create a new document template, which can be attached to the dunning steps, move through Finance -> Dunning -> Document templates and click on the “plus” icon:
2. Add a description and fill in the content: 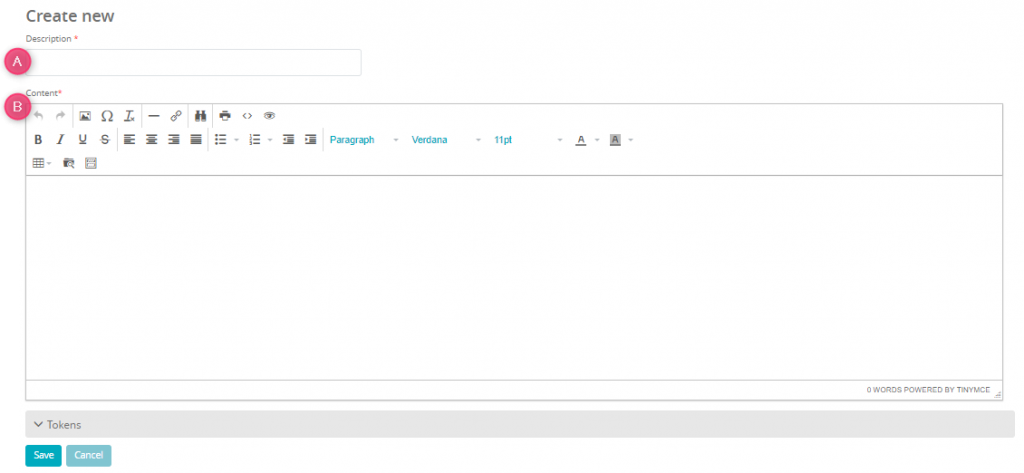
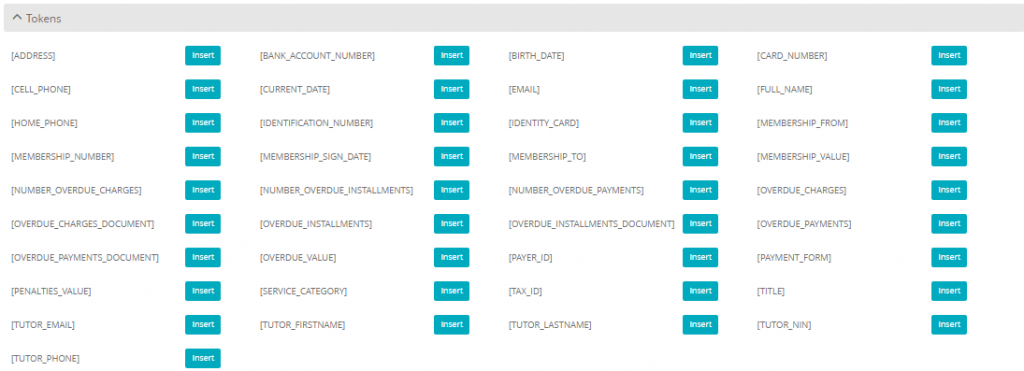
3. In the document’s content, you can enter the Tokens. Tokens will be automatically switched to proper data from member’s profile (when the document will be created for the specified member):
Monitoring of dunning steps
1. Move through Finance -> Dunning -> Activities in order to check on which step of dunning process your members are:
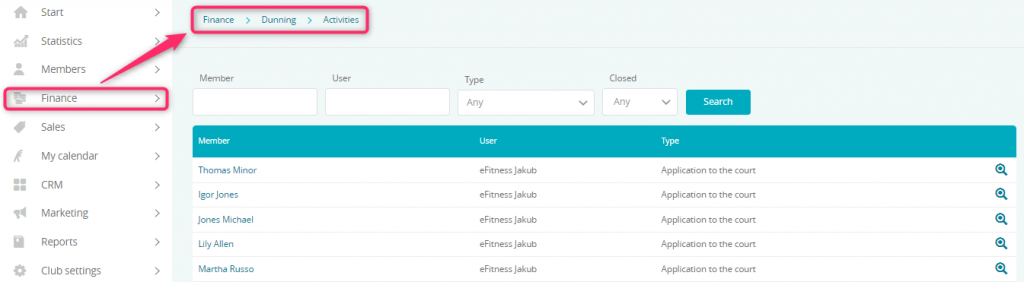
In this tab you will find all members with debt and the type of activity which should be taken towards them. Here you will also find an information about which employee is responsible for taking these activities.
Important! Only dunning activity like e-mail and text message are automated and will be sent from your system without any further actions, if your notifications are properly configured. Other activities, like sending a letter or an order to pay, should be done manually, outside the eFitness system.
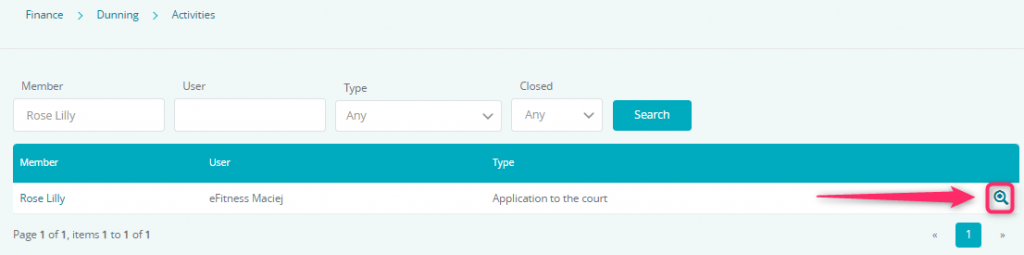
2. In order to move to the details of the activity, simply click on the magnifying glass icon nearby:
3. In the Details you can:
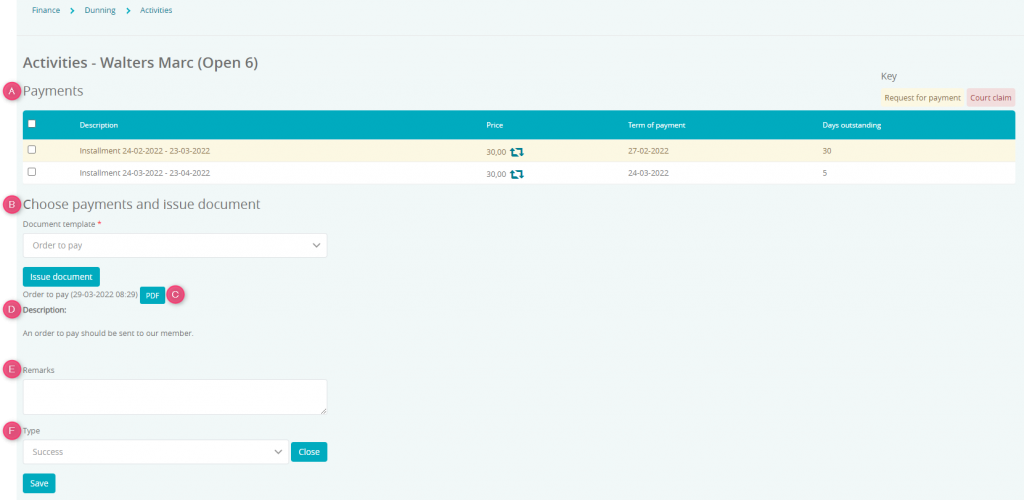
A) see all overdue payments in the dunning process
B) issue new documents to the installments/fees (document templates should be previously created in the Finance -> Dunning -> Document templates tab)
C) download already created documents in PDF format
D) read the details of this activity
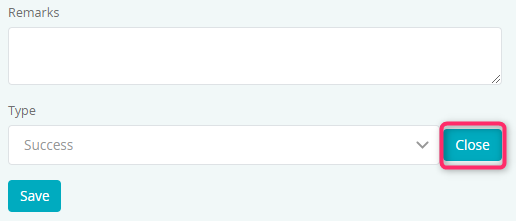
E) add additional information, regarding the closing details
F) close that activity, marking it as done (Success) or remitted (Cancelled)
4. After clicking the “Close” button, you will be redirected to the details of the dunning process in the Dunning register:
Checking the details of the debt
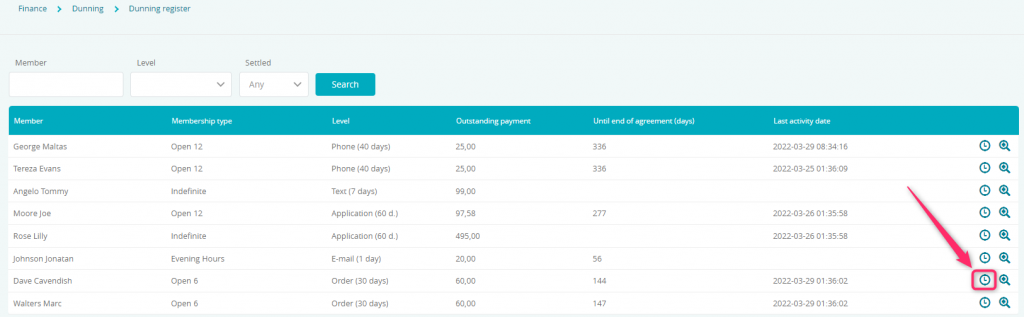
1. In order to check the status of your member’s debt, move through Finance -> Dunning -> Dunning register:
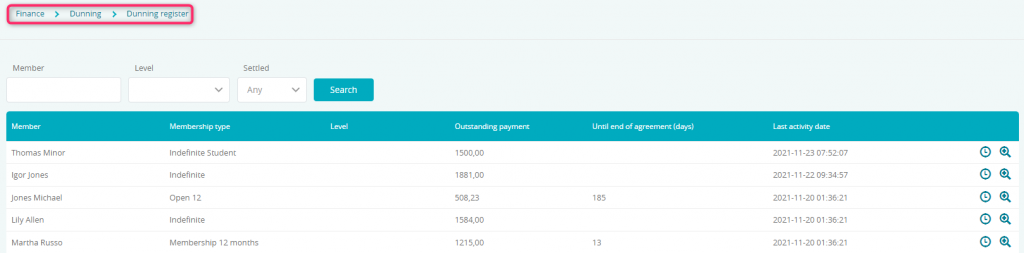
You will find here information regarding:
- Members with overdue payments
- type of membership with overdue payments
- current dunning level
- total amount of the debt
- days left until ending date of membership
- date of the last dunning activity.
2. In Dunning register tab you have the following filters available:

A) Member – useful, when you want to find dunning activities for a specified member
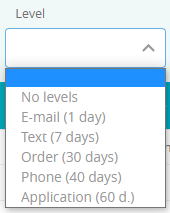
B) Level – you can filter members by the level of the dunning process, on which they currently are:
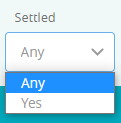
C) Settled – the table can show you all members or only those, whom outstanding payments have been settled:
In addition, you can use the clock icon to check whole history of the dunning process for this member:
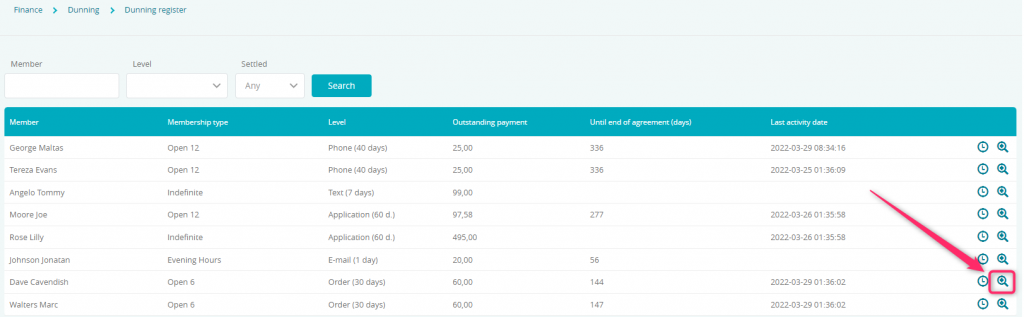
3. You can move to the details of the dunning process, using the magnifying glass icon:
4. You will find here information regarding:
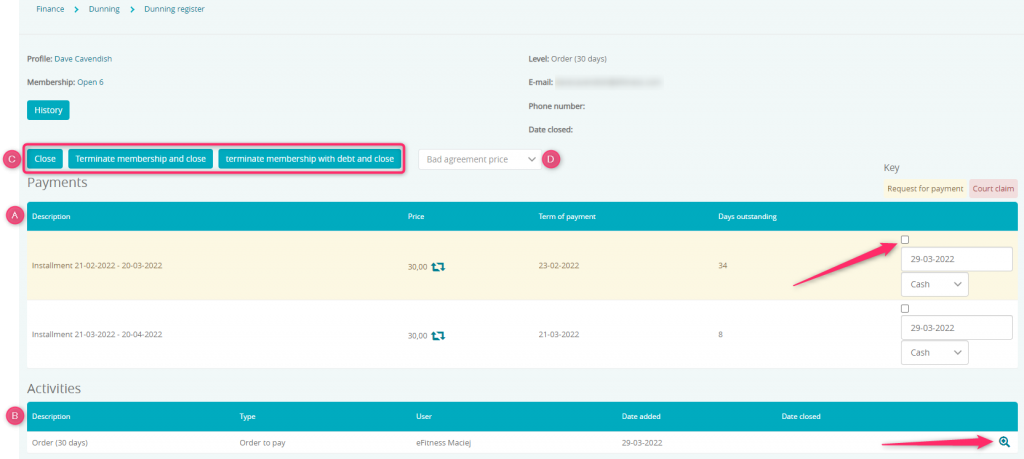
A) Payments – amount of debt. If your member will settle the installment or fee, you can mark it as “paid” right here, previously choosing proper payment form
B) Activities – dunning activities assigned to the member. You can close these activities or add additional information just after using the magnifying glass icon
C) Here you have 3 buttons, which allow you to close the dunning activity:
- Close – this button will allow you to close this activity, only if all overdue payments have been settled
- Terminate membership and close – closes the dunning activity and terminates the membership, but only if all overdue payments have been settled
- Terminate membership with debt and close – terminates the membership and closes the dunning process, regardless the status of payments.
D) Next to the buttons described previously, you will find the closing reasons, which can be created and modified in the Club/Chain settings -> Configuration -> Membership configuration -> Closing reasons.
Debt reporting
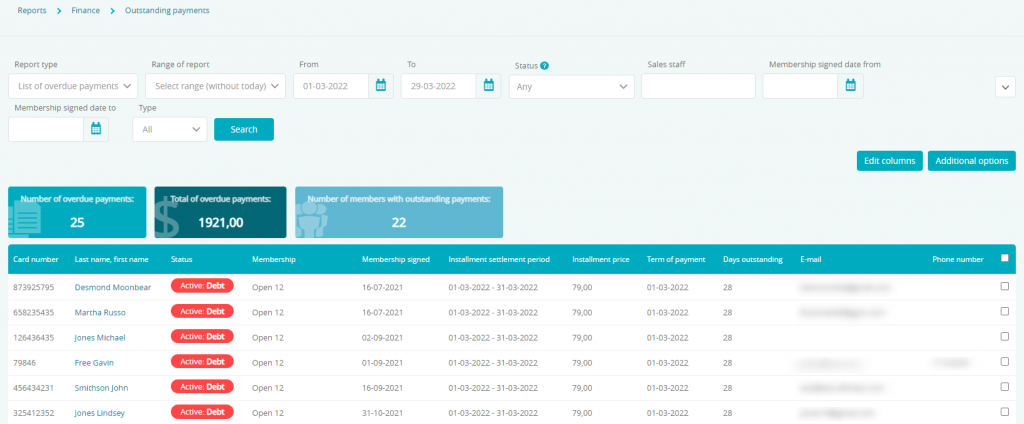
1. Move through Reports -> Finance -> Outstanding payments:
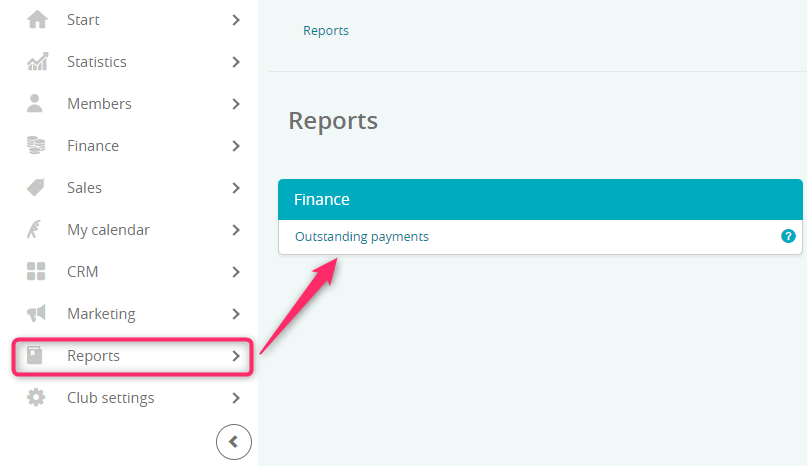
2. Choose the data period, in which the term of payment is, in order to find all members with overdue payments: