You can check the status of your e-mail messages sent to your club’s members in the dedicated report.
1. Where to find the report and how does it looks?
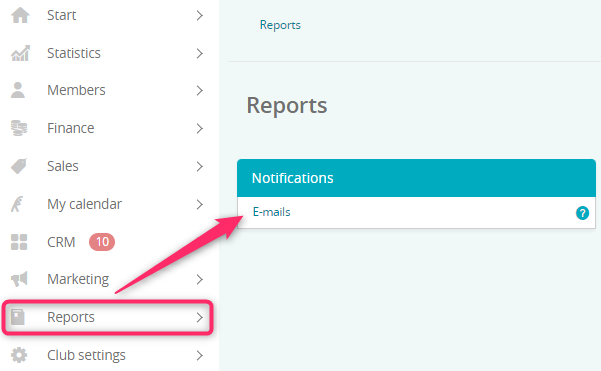
Move through Reports -> Notifications -> E-mails:
2. What filters are available?
In this report you will find the following filters:

A) From/To – you can choose the period, from which you want to find e-mail messages
B) Status – you can choose one of the predefined message statuses, e.g. to check, if it’s been sent
C) Type – you can filter a specified type of message, e.g. class reservation confirmation
D) Report type – wybierz jedną z dwóch opcji: e-mail, czyli wszystkie wiadomości automatyczne i marketingowe, lub mailer, czyli wszystkie wiadomości wysłane z zakładki Marketing -> Mailer -> E-maile you can choose “E-mail”, which will represent all automated and marketing messages, or E-mail dispatch, which means e-mail messages sent via Marketing -> E-mail dispatch tab
E) Member – you can also search for e-mail messages sent to a specified member
3. How does the report work?
After choosing proper filters and clicking on the “Search” button, you will see the statistics in bulk:

- Number – number of e-mail messages, created in the selected period
- Number of sent notifications – number of e-mails that reached the e-mail boxes of your members
- Number of read notifications – number of e-mail messages that has been read
In addition, in the report, there are the following columns available:
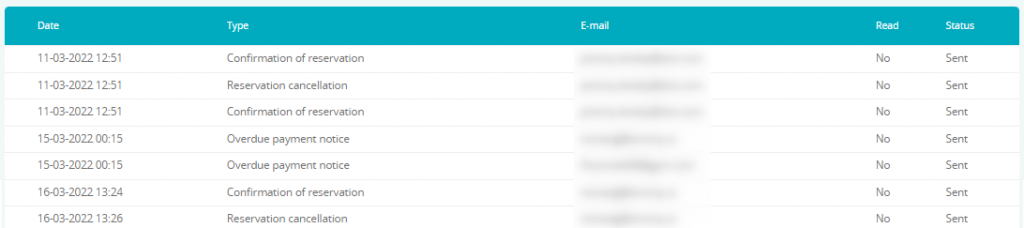
- Date – date and time, when the message has been sent
- Type – a type of automated or marketing message will be displayed here
- E-mail – e-mail address, to which the notifications have been sent
- Read – an information about that if the notification has been read or not
- Status – status of your e-mail message. If you will notice an “Error sending” status here, verify your SMTP server data (especially login and password) in Club settings -> Configuration -> Notifications or write a ticket to our Support
If the message has not been sent properly, a “plus” icon will be visible. After clicking on this icon, you will easily find information about the reason:

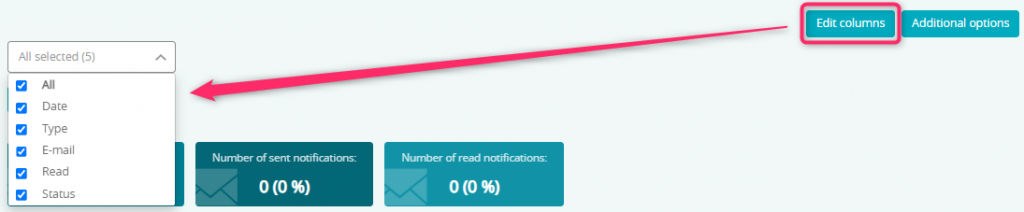
In order to modify the number of columns visible in the table, simply click on the “Edit columns” button and uncheck the columns, which you do not want to see:
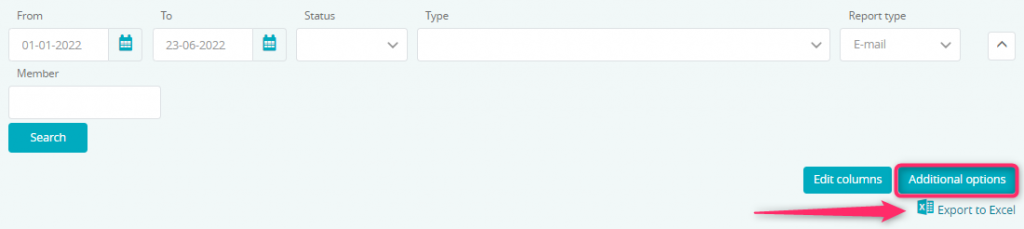
In order to export data from the report to an Excel file, simply click on the “Additional options” button and then choose the “Export to Excel” option: