
In this article, you will learn how to perform a membership cession, which means transferring an active membership to another member. For example, when one of your club members cannot use his membership, it can be transferred to another person without closing the membership and receiving a penalty. Cession possibility depends on your club terms&conditions.
Creating cession reasons
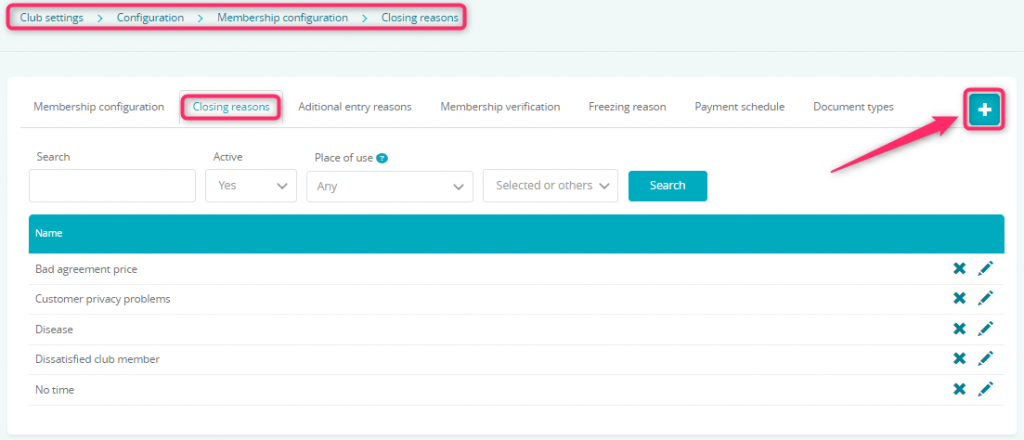
1. In order to perform a cession, the system will require choosing one of the available cession reasons. These reasons can be created in the Club/Chain settings -> Configuration -> Membership configuration -> Closing reasons -> plus icon in the upper right corner:
2. Enter the reason of cession and choose the place of use:
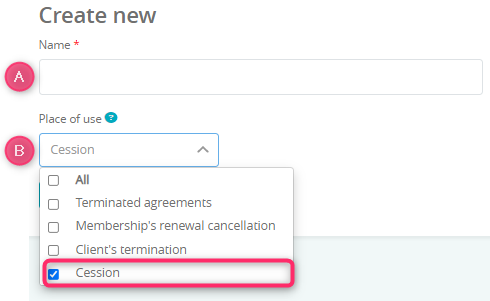
You can create a universal membership closing reason, simply choose all of the options available.
Performing a membership cession
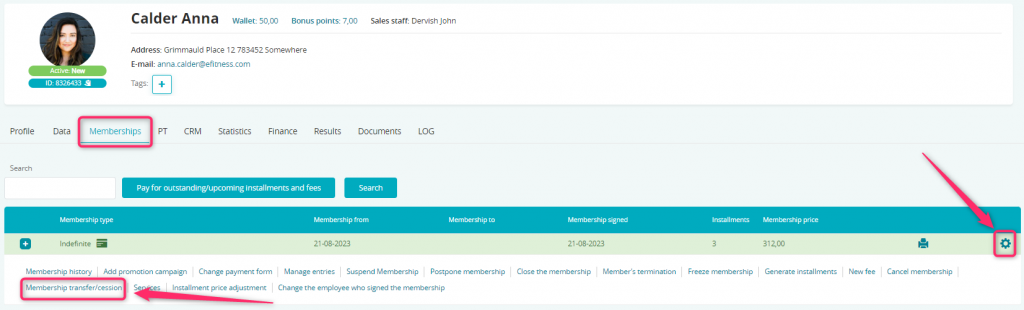
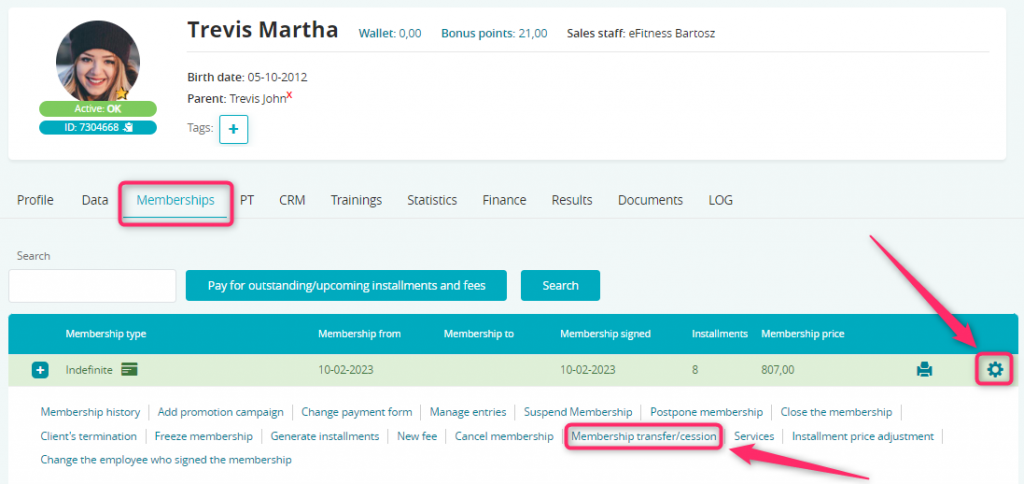
1. Move to the Member’s profile -> Memberships tab -> Cog wheel icon -> Membership transfer/cession:
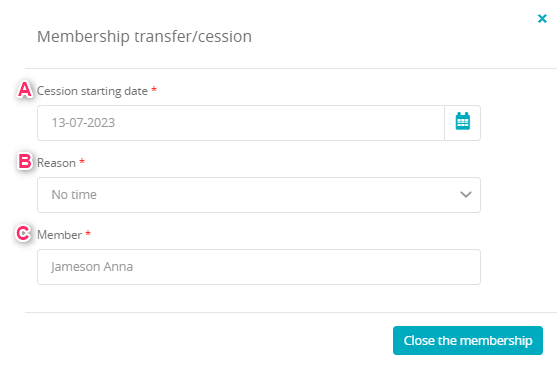
2. Choose:
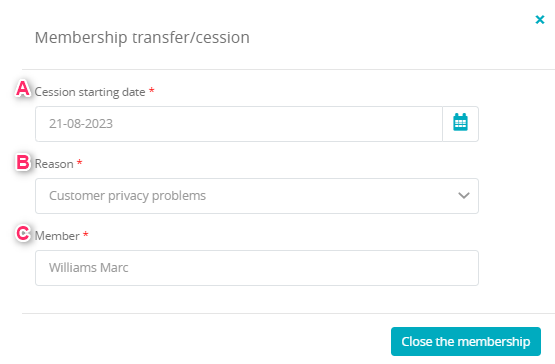
A) Cession starting date – since when the selected membership should be active for the new member
B) Reason – choose one of the reasons available on the list. You can create new reasons in the configuration (follow the “Creating cession reasons” part)
C) Member – choose an existing member, to whom the membership will be transferred
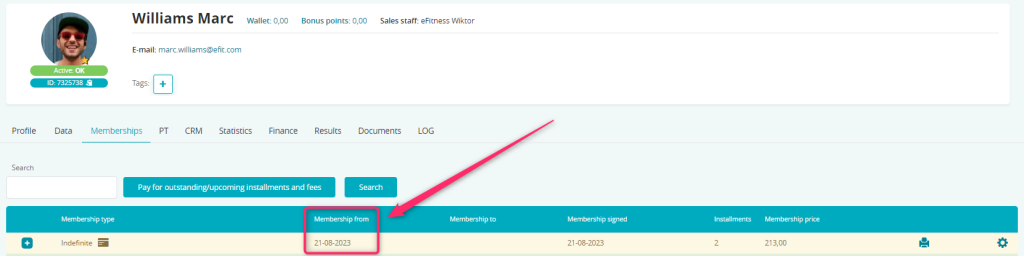
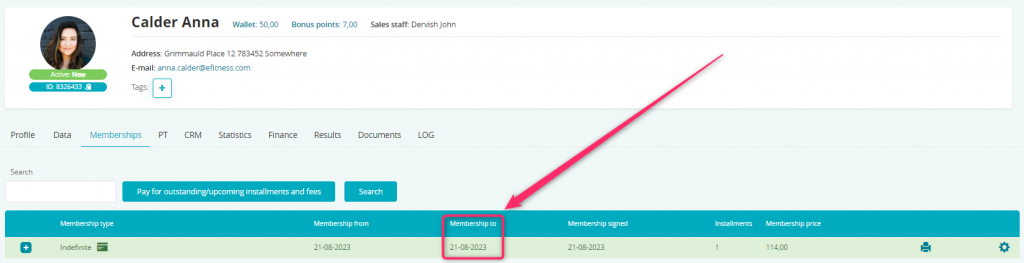
3. After the cession being made, the membership ending date will be changed:

4. On the member’s profile, to whom the transfer have been made, new membership will be shown. Starting date will be set according to the date selected during the cession:
If the transferred membership had only one installment, on the new member’s profile the installments number will be shown as zero (membership had only one installment, and it stays on the first profile).
Performing a paid cession
1. If you would like to charge your members for the cession, move through Club/Chain settings -> Configuration -> Fees -> List of fees -> plus icon in the upper right corner (in order to add a cession fee):
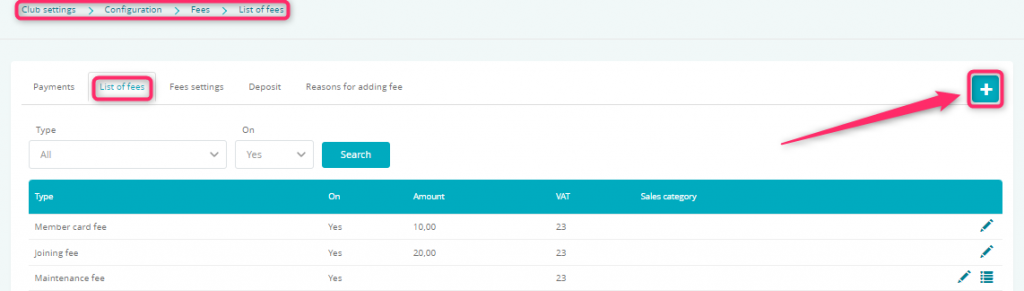
You can also check our article regarding cession fee – how to configure it.
2. After creating the fee for cession, move to the Member’s profile -> Memberships tab -> Cog wheel icon -> Membership transfer/cession:
3. Choose:
A) Cession starting date –since when the selected membership should be active for the new member
B) Reason – choose one of the reasons available on the list. You can create new reasons in the configuration (follow the “Creating cession reasons” part)
C) Member – choose an existing member, to whom the membership will be transferred
3. After the cession being made, the membership ending date will be changed:
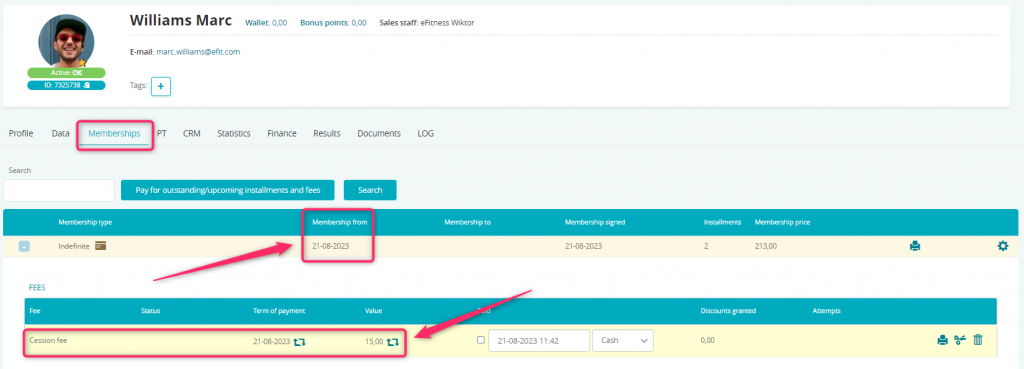
5. On the member’s profile, to whom the cession have been made, new membership will be shown. Starting date will be set, according to the date selected during the cession. The list of future installments will also be displayed. A cession fee will also be added to this membership:
Important! If the fee for cession has to be added, it should be previously created, according to the article: How does the fee for cession work?