You can adjust your member area for the members, who use other language than your default. In order to do so, you can use your own translations for other languages. In this article we will show you, how to do so:
How to enable the possibility of creating the translations
Translations tab is enabled on your request. In order to obtain the access to this tab, write a new ticket to our Support department.
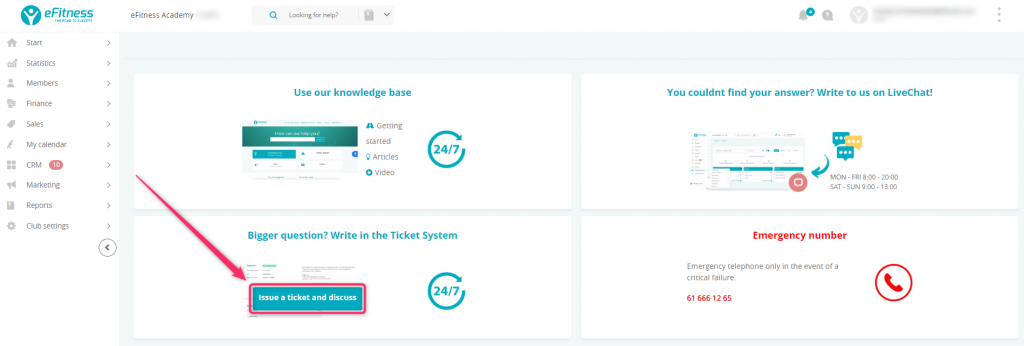
To do so, click on the question mark icon on the upper system bar, choose the “Issue a ticket and discuss” button and click on the plus icon in the right upper part of the screen:


How to create translations?
1. Move through Club/Chain settings -> Translations.
2. Click on the “plus” icon in the upper right corner:

3. Fill in the first form with original text and then create the second form, with the translation:

In the fields:
-
Key – enter the same translation key in every translation for the same text. This field cannot contain white marks (e.g. space)
-
Value – you can enter here the value, for which your key will be switched. It can be a single word or a full sentence.
-
Language – from the drop-down list, choose the language in which you are creating your new translation. When your member will choose the language in the Member area, all translations will be switched to this particular language.
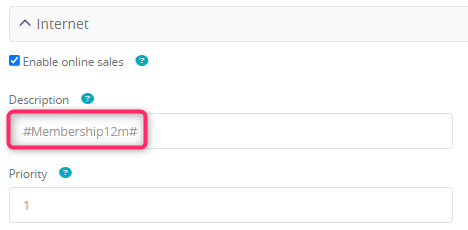
4. Enter the translation key for e.g. membership name in the Member area. In order to do so, move through Club/Chain settings -> Memberships, choose the membership and edit it by clicking on the pencil icon. Enter the key between ## marks:

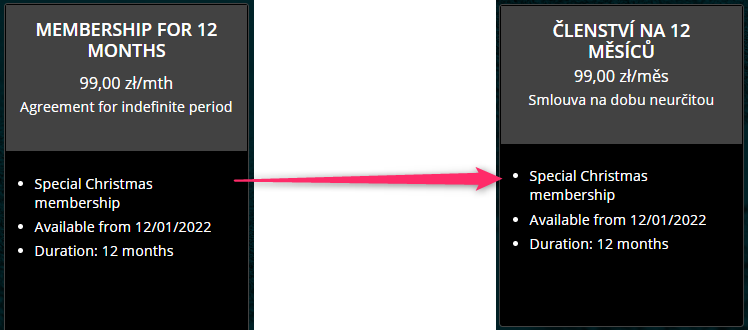
In the Member area, in upper right corner, you will be able to choose different languages. Depending on the language chosen, proper translations will be loaded:

Notice that the description of the membership has not been translated using our Translations tab, so it will be visible in the original language. You should manually add the translated description of your membership. You can do that in Club/Chain settings -> Memberships -> Membership edition -> Internet -> Description.
